I Finally Turned 21, and I’m Allergic to Wine?

No, not exactly. Here’s my DAO discovery changed the game.

Becoming an adult happens in stages. It’s gradual, but with each new stage comes a new set of gifts to enjoy as well as obstacles to overcome.

I just spent the past six weeks interning in the capital of young, prime opportunity: New York City. I took a leap of faith to move there by myself and see what I was capable of, even though I could’ve done the job from anywhere.

The chance to immerse myself in a city like the Big Apple as a young adult seemed like the only sensible option, or perhaps the only option that made the most sense for me — a 21-year-old dreamer with wide eyes and a hunger for new success.

With the chance to live in a city like Manhattan at my age, I’m trying to build and make as many professional networks and meaningful connections as I possibly can.

In New York City, one of the easiest — or at least more approachable — ways to do this is a night out.

As I’m in the city for the first time as an adult, this means enjoying a glass of velvety, red wine at dinner or drinks is a luxury I can finally enjoy.

It tastes like thriving in a city full of extraordinary people.

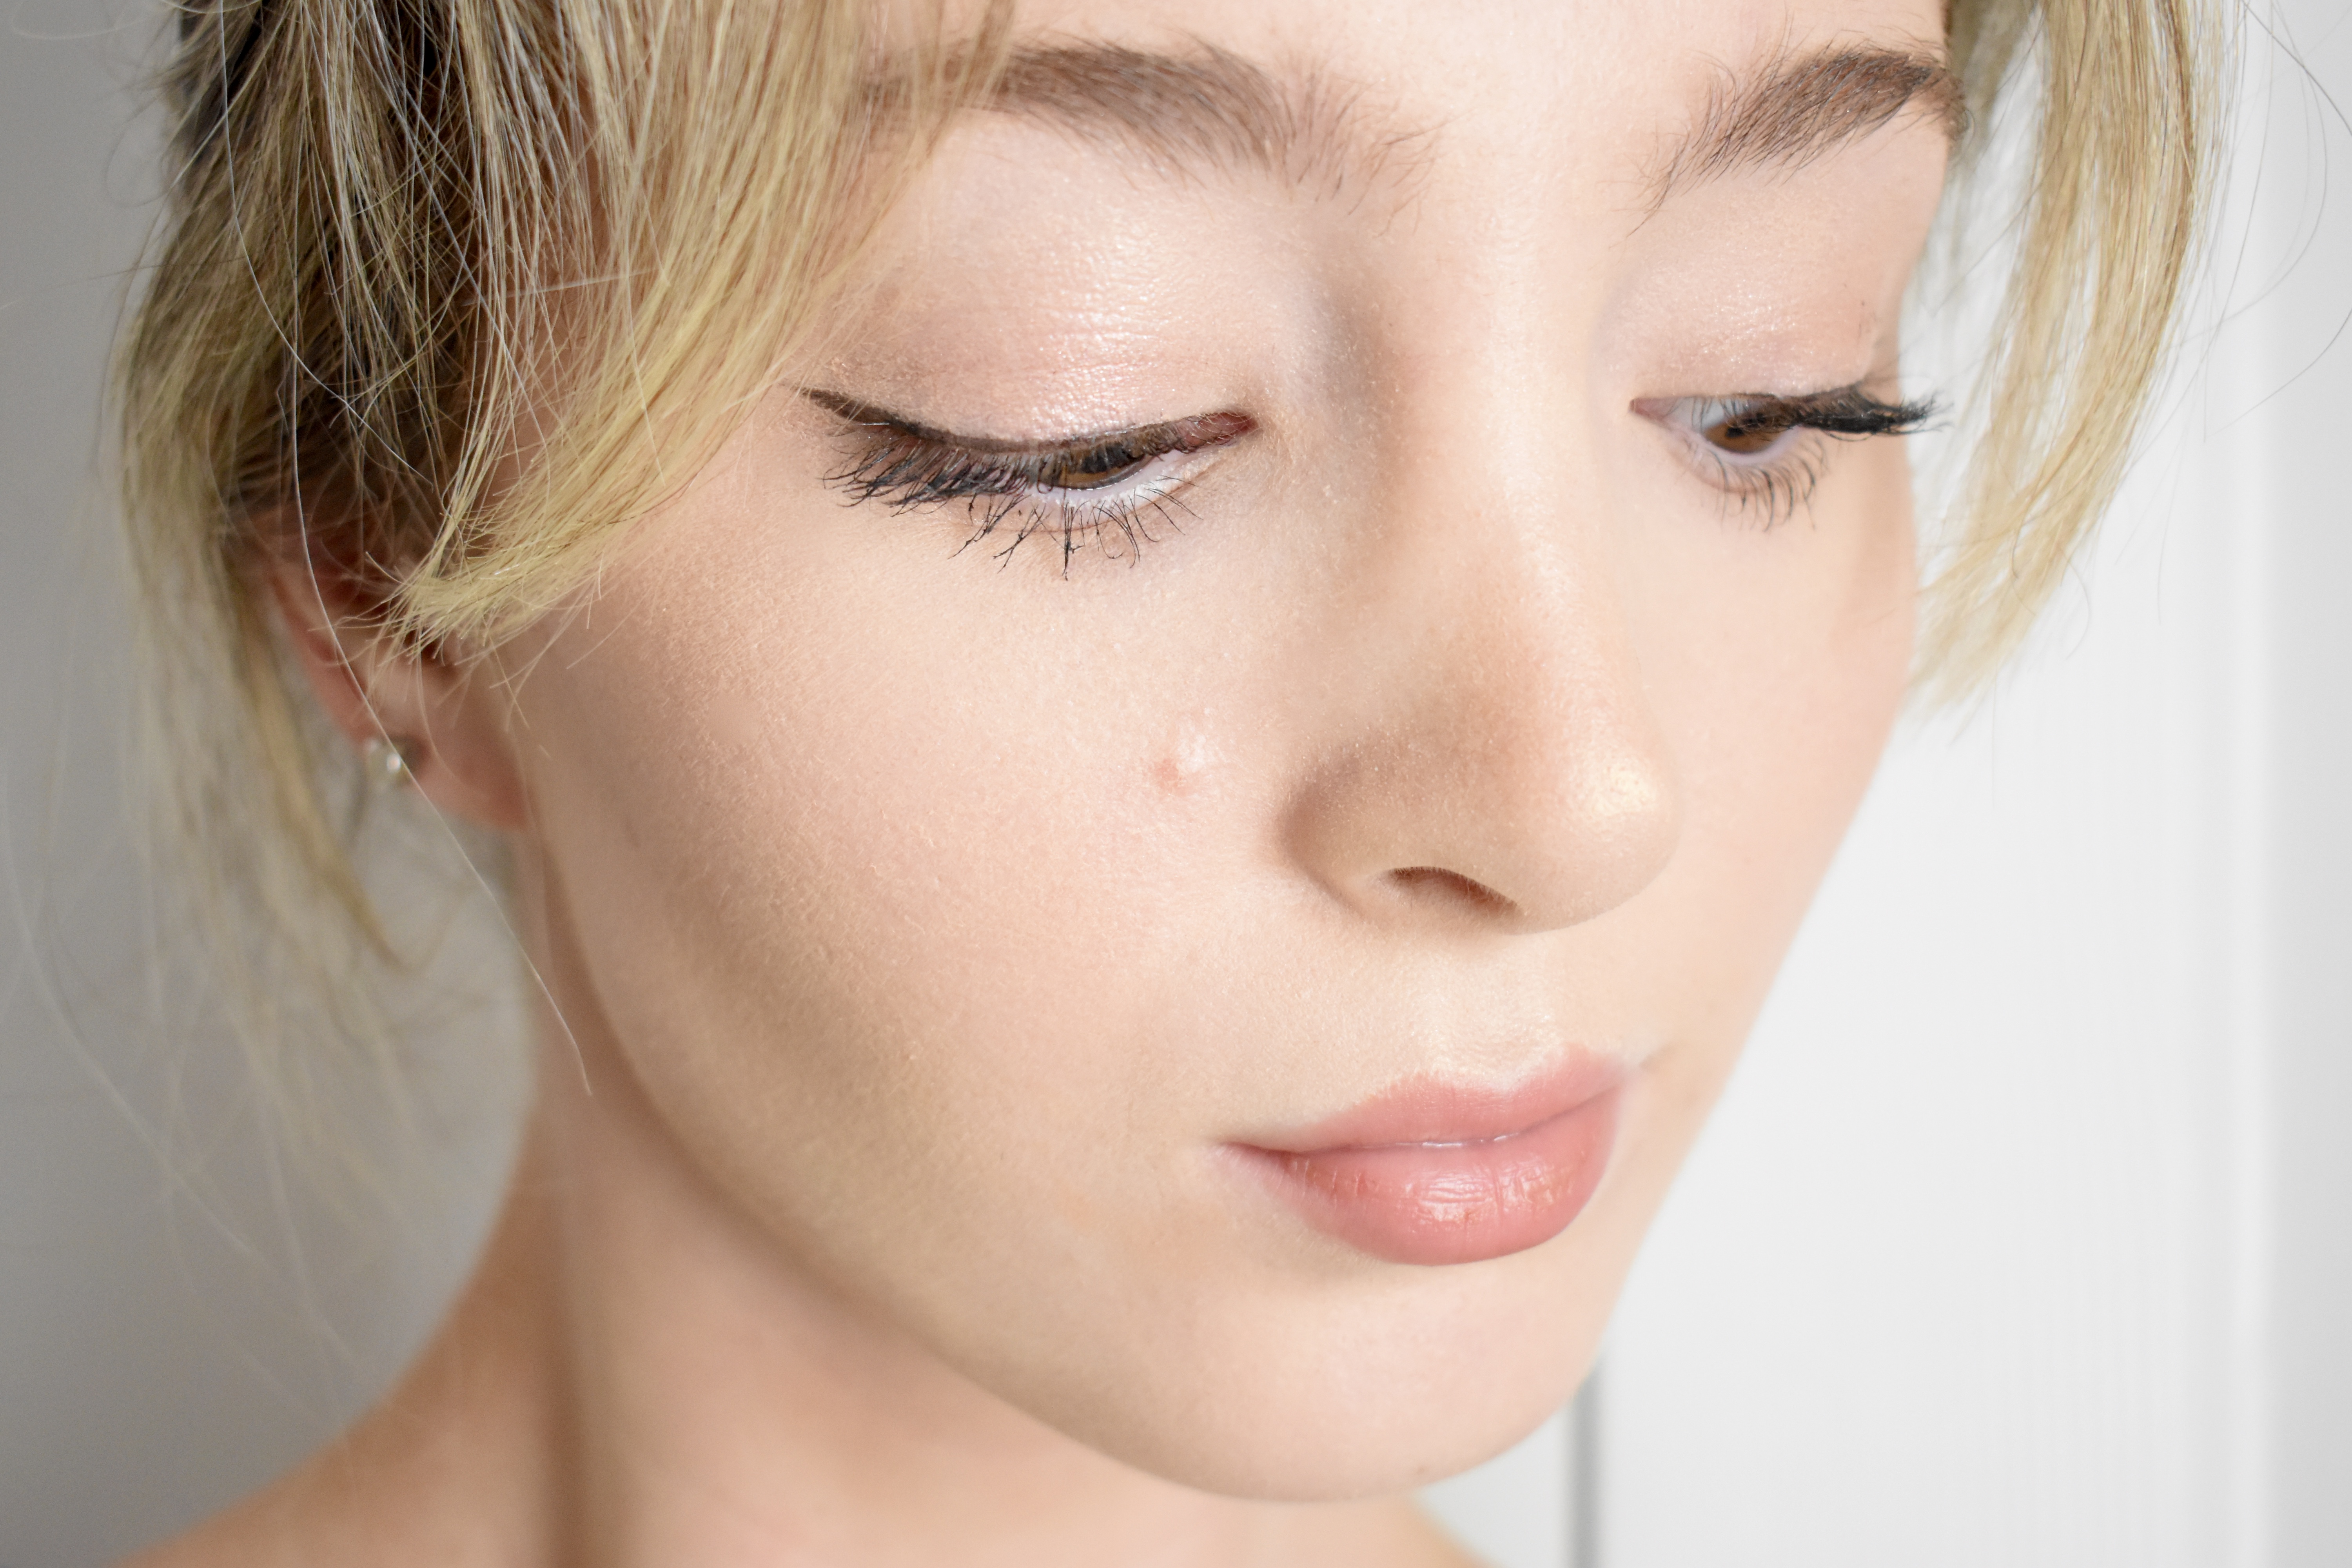
Or it did, until my first two sips of wine in a beautiful, Italian restaurant caused my entire face and neck to become covered in hives.

Surely, I’m not allergic to wine, right?

Not only was it physically uncomfortable, but it was embarrassing. Here I am in my favorite, red dress in a room crowded with chattering people, and it looks like I’m having a life-threatening allergic reaction.

The hives, the flushing and the headache came almost immediately after my first few sips, and I didn’t know why because I was the only one at the table reacting this way.

You’ve probably heard of antihistamines, but histamines naturally occur in many foods, including ones that are good for you, like avocados and tomatoes. The histamine gets broken down in your body by an enzyme called diamine oxidase, or DAO. When your body isn’t producing enough DAO, then it can’t properly break down the histamine, and that’s where the allergy-like symptoms rush in.

Because my body wasn’t prepared with enough DAO when I began to drink that glass of Pinot Noir, the histamine overflowed and caused my skin to react in huge hives and rashes.

While not being able to drink wine isn’t the end of the world, it certainly isn’t the news I was expecting to hear as I entered adulthood.

One of our clients at the PR firm I’m interning at for the summer has a supplement that works to alleviate the symptoms caused by histamine intolerance and DAO deficiency. As it turns out, I’m one of the 5% of the U.S. population that struggles with histamine intolerance. It didn’t occur to me until I was on the phone with my boss the next day that this enzyme supplement may be something I need to try.

So, I did.

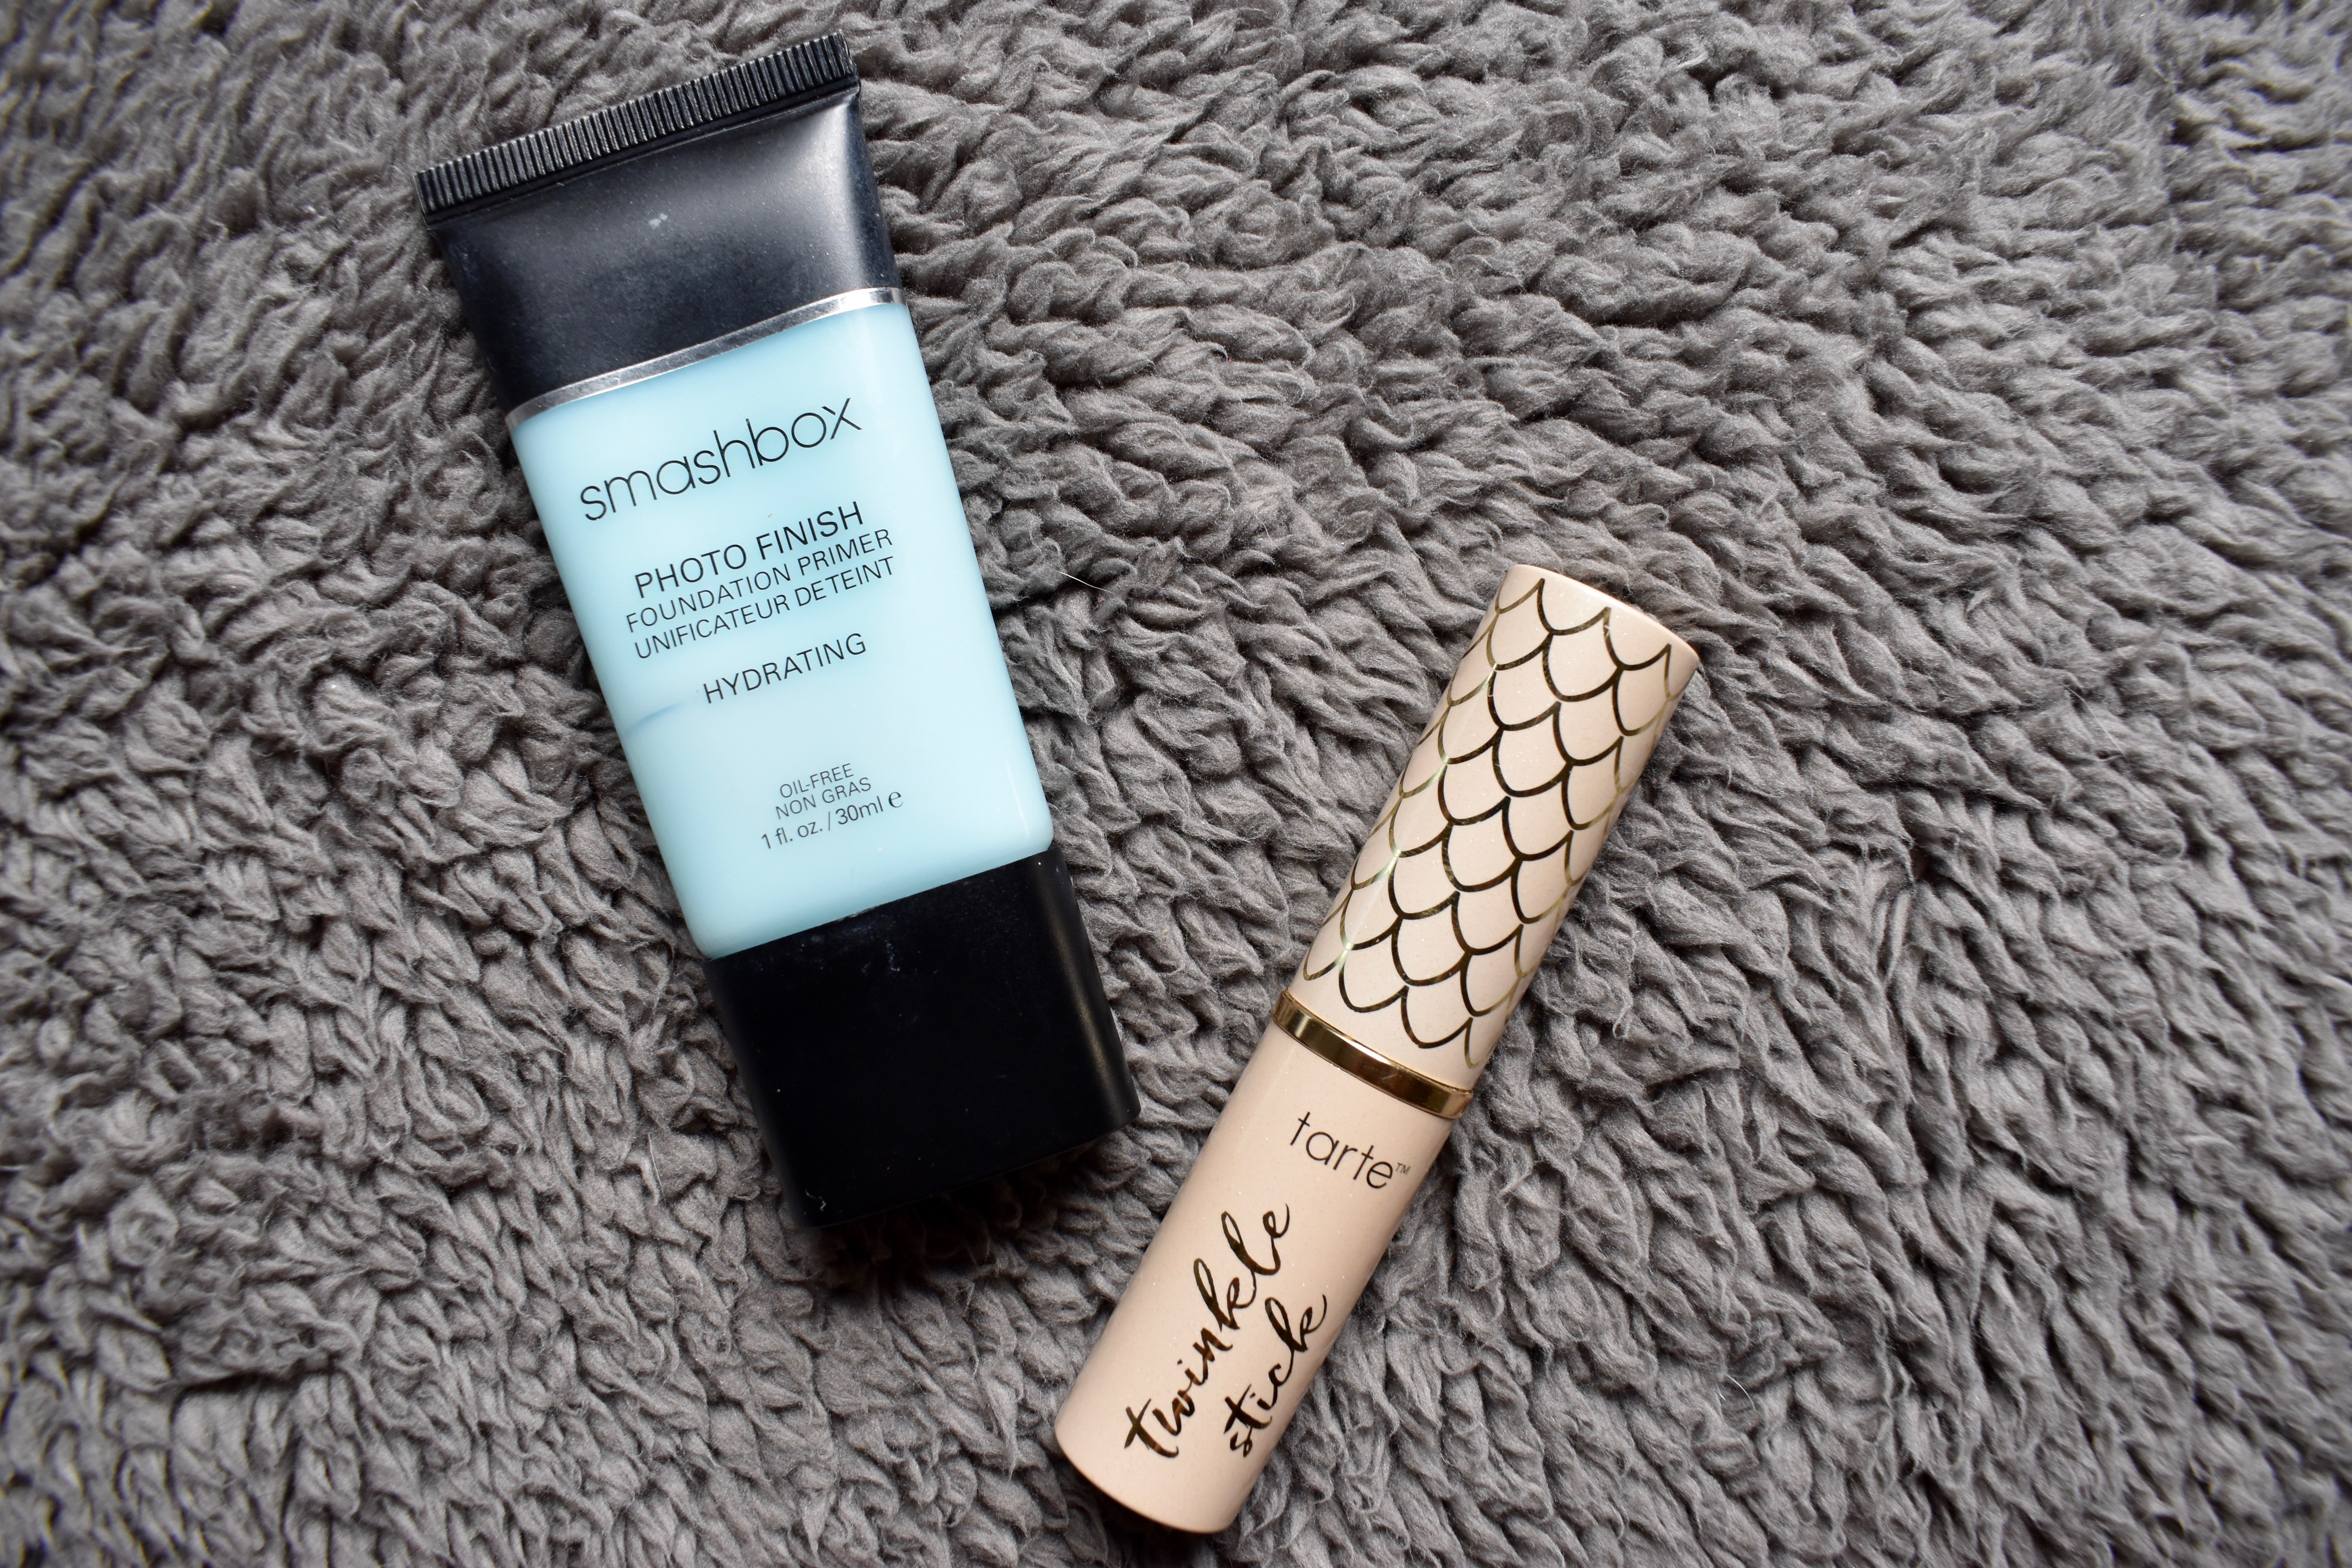
I took one Umbrellux DAO supplement about 20 minutes before pouring wine in my glass, and then I cautiously began to sip.
My skin didn’t feel hot and nobody seemed to be staring my way. I took a few more sips and enjoyed the good company I was in. The atmosphere was busy, but in a good way. As the hour passed, I had finished my first glass and my skin, if anything, was radiant.

Simply taking this supplement is all it took to not only curb the inconvenience of dealing with the histamine intolerance but also lead me to the source of my embarrassing issue, which is now flawlessly solved.

I learned about histamine intolerance and DAO deficiency because of my embarrassing wine encounter and thankfully working on this client account during my internship in the city that never sleeps this summer, but you too can learn about the benefits of Umbrellux DAO and the effects of histamine here. I specifically like the self-evaluation kit, which is less than $6, that helps you determine if the flushing after drinking wine or beer is caused by a histamine intolerance that can be alleviated by supplementing with a little DAO.

-C.M.

GRWM: My 19th Birthday

A step by step for the look I wore out on my 19th birthday.

A close-up shot of the minimalist’s go-to glam makeup look.

Prior to getting in to the steps of the look I created for my birthday evening, I must claim to the world that I am not now nor will I ever claim to be a makeup guru.

I know quite a bit about makeup, a la the hundreds of thousands of YouTube videos I immerse myself in to procrastinate other, more important activities.

I love makeup, and I think it is an incredible art form, but when it comes to my own face, I like to keep things simple.

Just in the past year or two, I’ve drastically cut down on the amount and combinations of makeup I prefer on my face – less is more, really. So here is what I decided to go for on my birthday last Thursday, July 20th.

1. THE BASE

Primer seems to be a pretty personal thing; some people swear by it and some don’t see the difference.

I don’t understand the latter.

This hydrating primerby Smashbox is one of my all-time favourites. I tend to have more dry skin, so this allows everything I’m applying on top of it to glide seamlessly onto my skin.

Another staple I literally never skip is applying a cream highlight under my foundation.

I don’t necessarily think this is the order these products were intended to be applied in, but makeup is about throwing the rules out the window… right?

I like to apply the highlighter to the high points of my face, just as you would regularly atop of your foundation, and blend with my fingers.

This highlighter stick is from Tarte, in the shade pearl, and works really beautifully with a lighter skin tone (calling all my pale people – I feel you).

This gives the most flawless glow under any foundation without ruining the blending on top or creating too harsh of a look. I’m really not even kidding when I say this technique has changed my life forever.

2. THE FACE

I whole-heartedly will always and forever believe that the foundation of any look is the most important part.

I hold a very special place in my heart for beautiful, glowing skin, and I believe it can literally make or break any look. It might even be a fetish, who knows.

Glowing skin is all the rage right now, and I can’t get enough.

Again, sticking with the “less is more” concept, I like to apply a thin layer of the one and only YSL Touche´Eclat foundation, in the shade B20, with a damp beauty sponge.

This foundation provides a medium, buildable coverage with Ruscus Extract to counteract dullness in the skin, providing a radiant, luminous glow.

This pairs perfectly with Urban Decay’s Naked Skin concealer. I like to use a small bit in the shade Fair Neutral to brighten my under eyes, and a touch of the shade Light Neutral over any blemishes I might have.

After letting that set onto my skin for a minute or so – I like to do a little dance in the process – I take my damp beauty sponge and apply the smallest amount of Neutrogena’s Shine Control powder under my eyes, around my eyes and around my mouth.

I then take whatever excess is left on the sponge and dab that over the rest of my face, just for good measure.

Next, onto my most-loved step of any makeup look: contour, highlight, and blush. The difference that these three steps can have on a face of makeup is so subtle, yet so wonderful.

I’ve gotten into a habit of using Too Faced’s Cocoa Contour palette in the shade Light to Medium. The contour shade has the perfect undertones of gray to where it doesn’t look to orange on my pale skin.

I also like to run the bronzer in this palette all over the borders of my face to warm up the overall look.

The only two components I need in my perfect makeup look are bronze and glow, and I will be one happy girl.

The blush I used in this look is the Amazonian Clay 12-hour blush by Tarte in the shade Peachy Nude. I find that these sort of nude-peach tones work best on my skin tone.

Now, if you were to for some reason go out and buy any one product from this entire look, I would 100% recommend it be the NARS Highlighting Blush in Albatross.

This shade it to die for. It almost looks white in the packaging, but provides the most beautiful golden sheen I’ve ever seen in my life.

This product also accents the Tarte cream highlight I’ve applied previously under my foundation, bringing the whole look together.

3. THE EYES

In moving on from the face, I always go straight to the brows – a close second to a flawless complexion.

I’m a huge fan of the more natural, almost crazy brow, and Benefit’s Gimme Brow tinted brow gel is the perfect way to achieve that.

It adds just a little bit of color (I use the shade 03 – Medium) to the sparser areas where you might need some help, while the fibers in this product amp up your natural brow hairs to get the perfectly undone brow.

Once my brows are as close to how I want them, I (big surprise) keep going with the “less is more” trend.

There was a time in my life where I attempted to get a full eyeshadow look every day I was wearing makeup. Sometimes, that’s the look I’m going for, but I’ve also learned to LOVE the one-color trend.

My favourite trick to do is swipe a bit of this YSL Full Metal Shadow in the shade Pink Cascade for the most beautiful sheen over my eyelids.

It still creates a bit of depth to your eyes as it naturally sits heavier in the crease, while still providing a glossy, highlighted look to the eyes with a touch of pink – a very loved trend of mine at the moment.

On a regular day, I’d throw on a bit of Dior Addict It-Lash mascara and call it a day.

For my birthday, though, I wanted to add a little something extra, so I took my Loreal Infallible Super Slim liquid eyeliner and created a little wing on the outer corner of my eyes.

I personally don’t think a larger wing suits my face shape because I do have relatively smaller features, so I like to create a tiny wing extending from the outer corner of my eyes, almost acting as an elongated lash on the end.

When utilising winged eyeliner, I think it’s important to remember that everyone has a different face and eye shape, so what works for someone else may not be what works perfectly for you. It’s all about finding what fits for you.

4. THE FINISHING TOUCHES

The only thing left to do now is add something fabulous to the lips.

Most of the time, I’d be happy with just adding a bit of chapstick to accent the natural color of my own lips.

For this look, though, I added one of my favourite nude shades by Clinique in a shade I can’t even share with you because I’ve had it for so long that the name has rubbed off the bottom.

A good alternative, though, is one of the Clinique Chubby Sticks – I love the shade Heaping Hazelnut. My favourite nude is one with a brown undertone and a semi-sheer finish.

A glossy lip gives off the illusion of a bigger lip, and since I’m working with what I’ve got, that’s what I love to do.

The actual last step in this, or any, makeup look of mine is to spritz this Cover FX Illuminating Setting Spray all over my face.

This is the only step where I might unintentionally throw “less is more” out the window…

I find that this product counteracts any of the excess shine control from the Neutrogena powder that I didn’t intend for, while adding a layer of protection to lock in my makeup all day.

Once this product sets, it finishes any look with an added luminosity to the skin, also great for the décolletage area.

And that’s it.

Thanks for reading.

Here’s to 19.

-C.M.